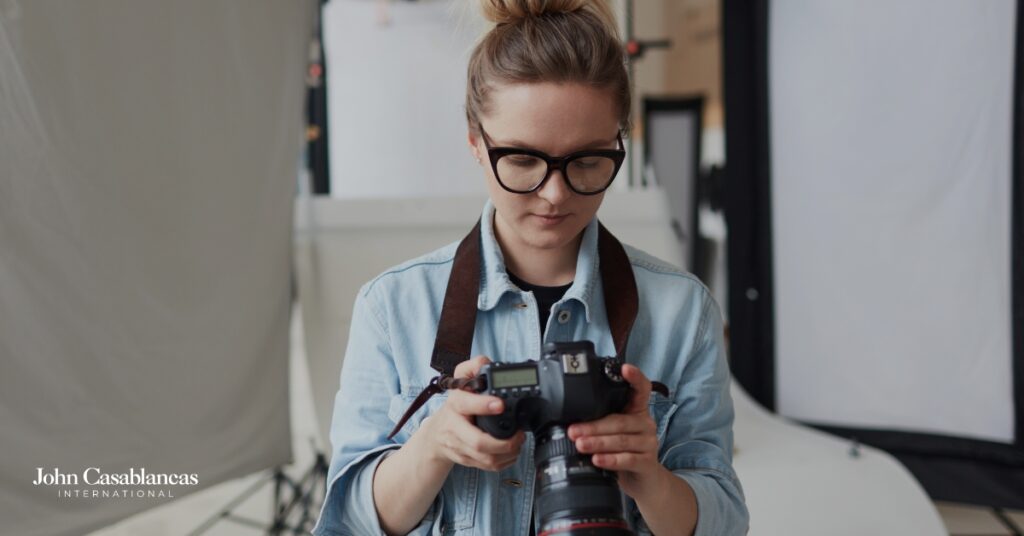
A model test shoot does not have to start with a booking and an invoice. Many aspiring models assume that the only way to build usable images is to hire a professional photographer right away. In practice, a well-executed model test shoot done on your own can produce material good enough to submit to agencies, start a portfolio, and help you understand your best angles before you ever invest in a paid session.
What a Model Test Shoot Is Actually For
A model test shoot is not the same thing as a portfolio session or a set of digitals. Digitals are raw, unedited images meant to show your natural look. A portfolio session typically produces polished, styled images for submission. A model test shoot sits between the two. The purpose is to experiment and try different angles, expressions, lighting conditions, and styling before committing any of those choices to a paid shoot.
Equipment You Actually Need for a Model Test Shoot
Before anything else, remember that a modern smartphone camera is fully capable of producing usable model test shots. You do not need a DSLR or mirrorless camera to get started, just the right lighting.
Beyond your phone or camera, a few items make a meaningful difference. A tripod or stable surface keeps your shots consistent when shooting alone. Without one, framing shifts between takes and reviewing becomes difficult. A remote shutter or your phone’s timer function eliminates the blur caused by pressing the button manually.
For a background, a plain white or light grey wall works well. Uncluttered outdoor walls or clean exterior surfaces are also good options. The simpler the background, the more attention stays where it belongs, which is on you.
Finding the Right Light for Your Model Test Shoot
Light is the single most important element in any model test shoot, and it costs nothing to get right. Golden hour, which is roughly the first hour after sunrise and the last hour before sunset, produces soft, warm, directional light that flatters most skin tones and creates depth without harsh shadows.
Overcast days are often underestimated. Cloud cover acts as a natural diffuser, spreading light evenly across a scene and eliminating the hard shadows that make facial features difficult to read. On an overcast day, almost any time works.
If you are shooting indoors, position yourself near a large window. Face the light source, or angle yourself at roughly forty-five degrees from it. The light should illuminate your face clearly, not fall across it at a steep angle that creates dramatic shadows.
Posing and Framing Without a Photographer
Shooting alone requires a different approach to framing and posing. Start by placing a stand-in object, a bag, a chair, or any object of similar height, where you plan to stand. Use that to check your framing and focus before you step in. This saves time and produces more consistent results.
Once you are set up, use burst mode to capture several frames in rapid succession. Expressions and posture shift subtly between shots, and burst mode increases the likelihood that one frame captures everything at once. Review playback after each set rather than only at the end. Catching a framing or lighting issue early means you can adjust before repeating the same mistake across dozens of shots.
For variety, work through the essential angles that agencies look for, including straight front, three-quarter turn, full side profile, and a close-up headshot. Vary your expression across sets with a neutral, a relaxed, a natural expression, and a genuine smile, all of which tell different things about your range.
Pay attention to your hands. Arms and hands are easy to overlook during a self-shoot, but they tend to look tense or awkward when left to chance. Slightly bent arms, relaxed fingers, and intentional placement make a visible difference in the final images.
What to Wear and How to Style Yourself
Styling for a model test shoot follows the same principles as digitals. Form-fitting clothing in solid neutral tones, black, white, grey, or navy, keeps the focus on your shape and features. Avoid patterns, graphics, and logos, since all of these compete visually with what the image is trying to communicate.
Keep makeup natural and minimal. Hair should be worn simply and away from your face so your features are fully visible. Clean, groomed nails matter more than most people realize, particularly if your hands appear in frame. The overall goal is to present your actual self as clearly as possible, not a styled or elevated version.
When to Move to a Professional Shoot
Once you have a solid set of DIY model test shoot images, you are in a much stronger position to invest in a professional session. You will already know which angles work best for you, which lighting conditions suit your features, and which expressions feel natural on camera.
A professional model test shoot makes the most sense when you are actively pursuing agency representation or need polished portfolio images for submission. When choosing a photographer, look for someone who specializes in model test photography or portfolio work rather than event or wedding photography. A specialist understands what agencies look for and can guide the session accordingly.
Start Before You Feel Ready
Knowing the technical steps of a model test shoot is one thing. Knowing how to carry yourself with confidence, work an angle intentionally, and hold an expression naturally takes practice. At John Casablancas International, students develop those skills through training in posing, image development, and on-camera presence before they ever book a professional session.
When you are ready to take your next step, book your audition with John Casablancas International and start building the foundation that a career in modeling actually needs.
Rebecca Lord is the Chief Marketing Officer at John Casablancas Modeling and Career Centers, where she leads strategic marketing to grow brand visibility. With over a decade in copywriting, social media, and ROI-driven campaigns – plus 14 years as a freelance copywriter and designer – she specializes in messaging that resonates and delivers results. She’s based in Greater St. Louis.