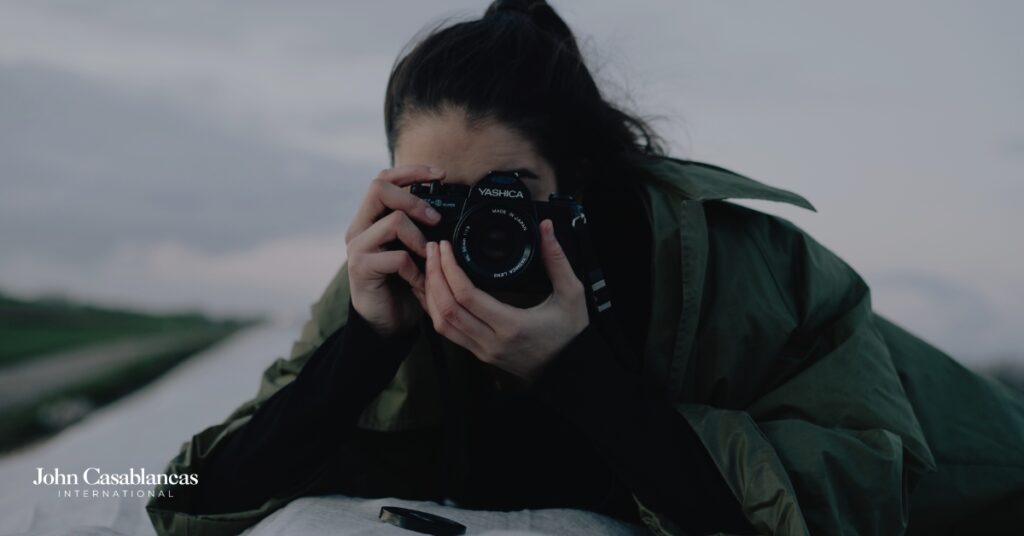
The leap from amateur home video to sleek, cinematic footage doesn’t require switching to expensive cinema cameras. It simply requires mastering five fundamental DSLR basics that professional videographers have relied on for decades. Your existing DSLR or mirrorless camera is a powerful tool capable of stunning results, but only when it’s taken off “Auto” and properly configured.
Mastering Motion With Frame Rate and Shutter Speed
To achieve cinematic motion, you must control two linked settings: Frame Rate (FPS) and Shutter Speed.
The cinematic standard is 24 FPS, providing the subtle motion cadence associated with high-quality, movie-style productions. For slow motion, shoot at higher rates like 60 FPS (2.5x slow) or 120 FPS (5x slow) and play back on a 24 FPS timeline.
The most crucial rule is the 180-degree shutter rule, which requires your shutter speed to be double your frame rate. This ensures natural motion blur, preventing the jerky, hyper-crisp look of amateur video.
If shooting at 24 FPS, set your shutter speed to 1/50th of a second, and if shooting at 60 FPS, set it to 1/125th of a second.
Adhering to this rule is key to mimicking how the human eye perceives movement, instantly lending a polished, professional quality to your footage.
Exposure and the Power of ND Filters
Unlike still photography, where you can freely adjust the shutter speed to control light, the 180-degree rule locks your shutter speed down for the sake of cinematic motion. This makes controlling exposure much more challenging, especially in bright daylight.
For shooting video with DSLR basics, you use the three main exposure settings, which are the shutter speed, aperture, and ISO, in a specific order of priority.
The shutter speed is locked by the 180-degree rule. The aperture is used to control your depth of field. You typically want a wide aperture (low f-number) for a shallow depth of field to separate your subject from the background. The ISO is used only as a last resort, as a high ISO increases digital noise or “grain” in your footage.
When shooting outdoors, locking your shutter speed and using a wide aperture often results in severely overexposed footage. This is where Neutral Density (ND) filters become non-negotiable. They are dark pieces of glass that you place over the front of your lens to reduce the amount of light hitting the sensor, without altering color.
This allows you to maintain your chosen wide aperture and slow shutter speed, ensuring a perfectly exposed image with beautiful motion blur and shallow depth of field. Professional videographers rarely step outside without one.
The Psychology of Camera Angles
A professional videographer uses camera angles intentionally to shape perception. A low angle (shooting up) makes a subject appear powerful or large, while a high angle (shooting down) makes them seem smaller or weaker.
The eye level angle is the most natural and neutral, encouraging direct emotional connection with the subject. For tension, the oblique angle tilts the frame. Conversely, a bird’s eye view (straight down) builds suspense by limiting perspective.
When using two cameras, the 30-degree rule is crucial. That rule is that the second camera must be positioned at least 30 degrees away from the first to ensure smooth, professional cuts between shots.
Dynamic Storytelling Through Camera Movement
While static shots have their place, professional footage often incorporates deliberate camera movement to enhance storytelling, reveal information, or build momentum.
Moving the camera horizontally (left or right) while keeping the vertical axis fixed is called panning. A pan is perfect for following a moving subject or gradually revealing a wide landscape. Another common movement is tilting, when you move the camera vertically (up or down).
There is also a push in and a pull out. Pushing in means moving the camera physically closer to the subject. This immediately draws the viewer’s focus and emphasizes the subject’s actions, expressions, or an important detail.
Pulling out means moving the camera physically away from the subject. This is excellent for revealing context or the wider scene, making the subject feel suddenly isolated or surrounded.
The Unforgivable Basics of Audio
A common piece of wisdom in the industry is: “People will forgive shaky video, but they won’t forgive bad audio.”
No matter how beautiful your footage looks, poor or muffled sound will immediately ruin the viewing experience and mark your video as amateur. Professional audio is non-negotiable.
The microphone built into your DSLR is for scratch audio only. Invest in an external solution, and there are plenty of options available.
Shotgun microphones are highly directional and pick up sound primarily from where they are pointed, rejecting ambient noise. They are excellent for on-camera dialogue or vlogging and are a great entry-level professional tool.
Lavalier microphones are small and great for capturing clean, close-range audio from an individual speaker while remaining discreetly hidden.
Take the Next Step to Professionalism
Mastering these core DSLR basics is the fastest way to bridge the gap between amateur and professional-looking video. Your existing equipment has the potential, and it’s now up to your technical discipline and creative intent.
If you are serious about transforming your passion into a career, training is key. John Casablancas International offers comprehensive courses essential for modern filmmaking. Develop your natural talent and gain the professional training needed to excel in front of and behind the camera in the competitive world of media.